Friday, January 31, 2014

We didn't see our shadows, will the groundhog?

If you saw my last post, you know we had a pretty crummy week for shadows.  My shadow lesson plans had to be changed a bit since there was no sunshine, but the kiddos had fun just the same.  I sent an email to the parents asking if we could borrow some flashlights for the week.  The kiddos were pumped to bring in something from home to share with their classmates :)

They brought in just enough so each kid could work with a partner.  It was a good thing they remembered, because I completely forgot to bring mine from home!


We started our shadows investigations as a whole group.  We sat in a circle and took turns trying to create a shadow using a flashlight and a notebook.  A few of the kiddos managed to accomplish this, and then we made observations as to what they did differently to get a shadow to appear.  We also discussed what we needed to make a shadow (light, an object, a surface).  Once we figured out how to make a shadow they drew and labeled a picture of the items we used and the placement of them to create a shadow.

"When do we get to use the flashlights?"--was a question I heard all too frequently this week.  I guess I should be glad, it means they are curious (or else they just want to shine lights at each other.)  Just kidding, my kiddos were really good about flashlight etiquette.

Our next activity involved a flashlight and a basket of objects (laid out on the table because I forgot to take the photos during the activity!)

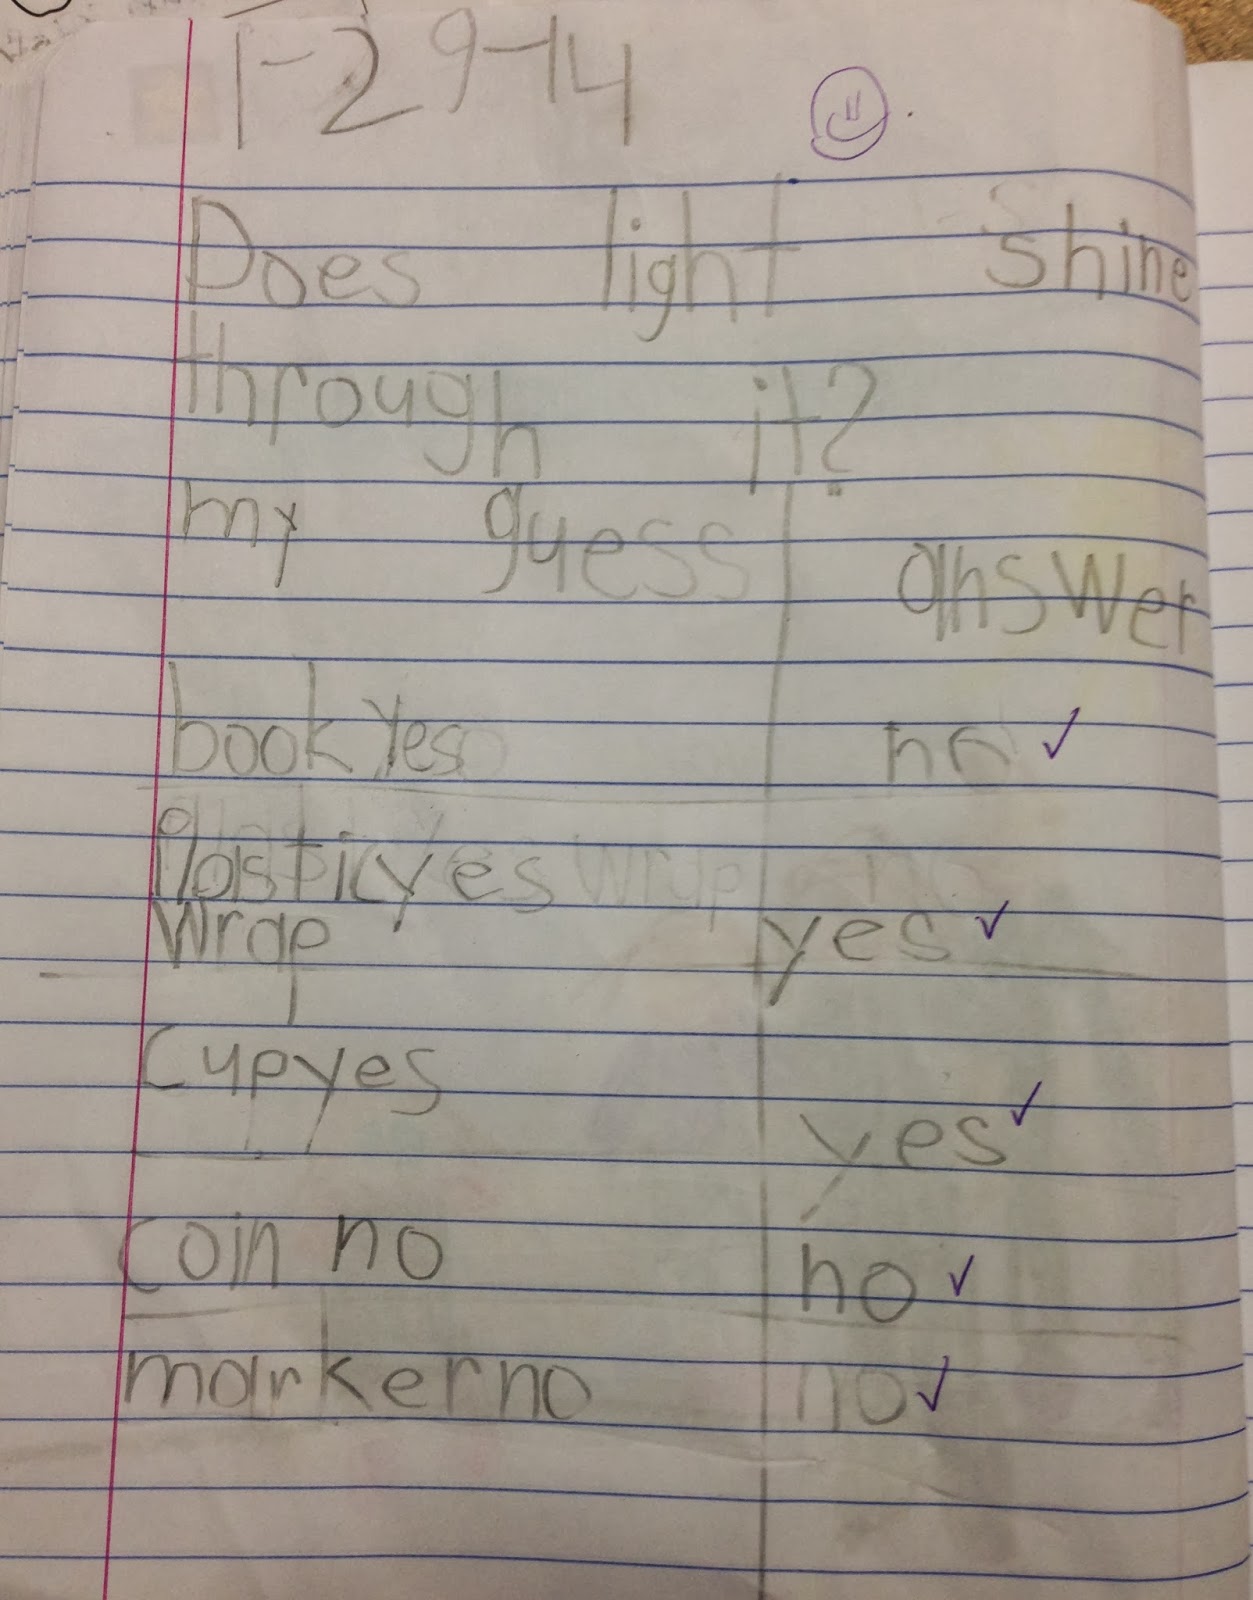
plastic wrap, plastic cup, marker, coin, book

I made a chart for the kids to copy in their notebooks (Does light shine through it?).  Then they made predictions about which objects the light would shine through.  They got a chance to test the objects with a partner, and then we discussed our findings.  The answers were recorded on the chart in their notebooks.


One day when we were running short on science time, I let them explore the classroom with their flashlights and find objects that make shadows.  They loved it, and they got practice positioning the flashlight and object correctly to make a shadow appear!  Win, win!

Our final lesson was supposed to help us discover how shadows move if the object does not move (the light source/sun moves).  Unfortunately, our schedule was so busy we did not get to it.  The kiddos were stoked about taking their flashlights back home, so we will have to save that one for a sunny day when we can trace our shadows outside.

We finished up our shadow activities this week with some groundhog activities.  I snagged these cute FREEBIES from Sheila Melton.

We practiced ABC order!

"I hope the groundhog does see his shadow because I want to go in the snow so I can build a snowman."

"I hope the groundhog does see his shadow because I like winter."
There was about a 50/50 split on who wanted more winter and who wanted spring.  They also made predictions about whether the groundhog will see his shadow on Feb. 2nd.  The majority said yes, it will be sunny and he will see his shadow.   I guess we will have to wait and see!

Tuesday, January 28, 2014

Wishing for sunshine, so we can see shadows

I decided that this would be a good week to teach shadows.  You know, with Groundhog Day coming up and all.  I thought maybe the kids should know what a shadow is before we start guessing whether or not the groundhog will see his.  Unfortunately, this was not to be (not outside at least).

Here in sunny California, the weather decided to change the week I am teaching shadows :(  It has been sunny everyday for almost an entire month, as evidenced by the weather graph we color in each day.


Two of those cloudy days were recorded this week, and there is no end in sight.  It is supposed to be rainy and cloudy the rest of the week.

I guess I shouldn't complain.  Half of the country is freezing and here in California we are having a drought.  We NEED the rain!  I guess I will resort to doing all of the shadow lessons inside until the sun reveals itself.

In preparation, I had the kiddos bring in flashlights from home.  Now we can create our own shadows to our hearts' delight!  I will come back after we have done some activities so you can see for yourself.


Thursday, January 23, 2014

Hickory, Dickory, Dock, It's TIME to make a clock!

My kiddos are learning how to tell time!  The week began with "Judy Clock" practice and learning the parts of a clock.  Of course there was some paper/pencil work thrown in there, but today we did the really fun stuff!  We made our own clocks!

No, not like fully functioning battery operated clocks or anything, but they do the trick :)  They aren't rocket scientists (yet)!  If you need clocks for your class to practice on, these are cheap and the kids love them.  They keep asking when they get to take them home.

Supplies you will need:
-paper plates (2 per child)
-brads (1 per child)
-minute and hour hands (I wrote minute and hour on them, but you can have them do that if you prefer.)


I started by giving each student one paper plate and demonstrated how to add the numbers, starting with the 12, then 6, then 3 & 9.  After that they added the numbers in between.  They were excited because I let them trace the numbers with marker.  Ahh, the little things ;)

Next, they made a cut between each of the numbers on their clock.  This turns each number into a little flap.

I gave them a second paper plate to put underneath the first, and put their brads with the clock hands through the middle to hold them together.  I handled all of the brads because it is sort of difficult to get them through two paper plates.  I didn't want them hurting their little fingers.  They all would have been asking for a band-aid!

Then came the tricky part.  They had to lift each number on the clock one at a time, and write the corresponding minute amount behind it.  I reminded them to count by 5s, but some of them needed a little help with this part.


After all the clocks were assembled, it was practice time!  I gave them a time and they showed it on their clocks.  The clocks were a hit, and I could see pretty quickly which kiddos were grasping the concept and which ones need more help.  We will use them for a few minutes each day to keep practicing.


Tuesday, January 14, 2014

Learning Properties and Making Books!

States of Matter. . . done.  The kiddos are doing well categorizing things into solids, liquids, or gases.

Properties of Matter. . . huh?

That was the type of reaction I got yesterday when I first mentioned properties of matter.  Their eyes sort of glazed over.  I started a Properties chart and broke it down into categories (color, shape, size, texture, weight).  Once I did this everything seemed much more manageable to them.  They came up with all of the ideas for the chart and I recorded them.


After we finished the chart, they each got to record some of our ideas in their very own Properties of Matter books!  The books are a simple little foldable that I learned to make in a professional development session (don't ask me which one because I have no idea!)  I folded all of the books and the kids filled them in.

If you are interested in making some books for your class all you need is paper and a stapler.  You will need three sheets of paper for each book (unless you want a smaller book).  Start by placing one sheet on top of another.  Line up the sides, but slide the paper up so there is about an inch and a half showing at the bottom.  Next place the third sheet on top and leave about an inch and a half of the middle paper showing.


Then, it is time to fold!  Take the top part of the three pages, and fold them over towards the bottom. By folding just one time you should be able to get about an inch and a half space for each row.


Crease the fold and add a couple of staples at the top edge.  You made a book!  These books can be used for anything.  Seriously, the possibilities are endless, but here are a few to get your mind going:
1.  retelling a story
2.  recording characters, setting, beginning, middle, end
3.  recording items of different shapes
4.  recording items that are certain colors

Just have the kids write the name of a category on each row and then they lift the flap to record their answers.  This is an example of our Properties of Matter book.  You could also "fancy it up" by adding pictures on the little tabs to go with each category.


Today we played "I Spy" using words from our property books.  They loved this!  I think we will continue to play whenever we have a little free time (like that ever happens!).


Friday, January 10, 2014

Matter and More!

TGIF!  As much as I love my kiddos, they wear me out!  I always seem to be tired by the end of the week, and today is no different.  Don't worry, I can stay awake long enough to fill you in on some of our activities.

As I mentioned in my last post, we are studying matter this week.  Yesterday the kids made matter books.  They had to cut the pages out and put them in order, then they had to glue the pictures to the correct page (solid, liquid, gas), finally they drew an item on each page.  They all did very well with this activity, but as an extra assessment we did this page today.

plane, juice, steam

a dog, milk, the teapot that has steam coming out

ball, puddle, air

I have gotten in the habit of having kids label their pictures.  They are still working on their fine motor skills and it is sometimes difficult to decipher their pictures.

There was a slight confusion on one paper, due to the word gasoline.  She thought that gas that you put in your car was a gas, which happens to be a very common mistake in kindergarten.  I felt bad telling her it was wrong because she spent so much time on her picture.


She was able to think of a new item for gas though, so she still got all of her answers right :)

If you are interested in using this assessment in your classroom, hop on over here to get the cute free version I made for you!

Okay, that is all I have for you today in regards to matter.  Now we are on to the "and More!" portion of the post ;)

The weather in San Francisco is great, especially when you hear about the rest of the country freezing!  However, this wonderful weather means that some of my students have never seen snow before, which is a sad thought.  Since we can't make real snowmen, we made some during art today instead.

First, I read Snowmen at Night--a cute book if you haven't read it before.

Then, the kids painted snowmen using Q-tips and corks to make dots of white paint.  After the white paint dried, they added other colors with a paintbrush.   I found this idea on Pinterest.  I can't give credit to one individual though because I saw several different pins using the same technique.

Please excuse the shadow of my arm, but I really wanted to use this picture because I have never seen a snowman with a cane.


Our little snowmen will be hung up on Monday to decorate the front hallway!  I figured it was time to take down the Christmas trees that are currently residing on that bulletin board.

Happy Friday everyone!  Now I am off to relax.  Planning can wait until tomorrow!


Wednesday, January 8, 2014

Back to work!

Sorry for disappearing on you!  I have a good excuse though, school was closed (and I was on vacation---a much needed vacation!)  The vacation is over (well, technically it has been over for a week now) and it is back to business--doing laundry, running errands, cleaning the apartment, and plenty of other mindless chores.  Getting back to work, however, has not been mindless.  I have to keep those kiddos busy or they will drive me crazy!

On top of the usual reading, writing, and arithmetic, we have been learning about matter.  Since I do not have science textbooks or kits in my classroom, I tend to pull resources from anywhere I can, which is exactly what I did for this week's lesson!

First off, I wrote these little poems for each of the states of matter.  I cannot take credit for them, I found them on a handout in my science files.


One student originally wrote "beer", but I thought that might not be the best thing to display in the classroom.  I asked her if she could think of a kid-friendly liquid.


We read them together and did a different activity with each.  For solids, I gave each child a magazine and they cut out all the solids they could find.  Since you can find a plethora of solids in any magazine, this activity did not take too long.  I glued their pictures onto the class poster.  Another option would be to have them each create their own solids poster.

For the liquids poster, I gave each child a notecard.  They wrote their name, and then drew and labeled something that is a liquid.  I taped the notecards around the poster.

Since gases are often invisible, I decided to do something that didn't require the kids to draw/find a picture.  We came up with a list of gases together and I recorded them and attached it to our poster.

Now the posters are displayed in the classroom so they can be used for reference as we continue our study of matter.

To increase the understanding of the fact that matter takes up space, we did a little experiment.  Once again, this is something I found in my old files.  However, this time I found out who to give credit to: Thanks Sue Boulais from MATTER REALLY MATTERS!


The directions suggest having the students work in groups, but since I only have 10 kids in my class we did it together.  I put water in a cup and drew a line to show where the water was.  Next, I had students take turns dropping different classroom items in the cup.  They observed the water rising above the line each time something was added.  Unfortunately, the items were small, so not much water was displaced.


In an effort to try and displace more water, we put several objects in at once.  (This was actually a suggestion from one of my kiddos!)  You can see that it worked!


As we added each item we discussed how the water rises because the objects take up space, hence, they are matter.  They also identified which kind of matter (solid, liquid, gas) and what material the objects were made of (plastic, wood, etc.)

The final step was to shine light into the cup to see if it is matter.  The kiddos predicted that light is matter.  I used my phone flashlight and they were able to see that their predictions were incorrect. Shining light on water doesn't make it do anything.  That is okay, everyone makes mistakes sometimes right!?

Now that we have learned the three states of matter, it is time to practice them a little more.  We will continue our adventures with matter this week, so stay tuned (and stay warm!).